Well, I have been absent for a while...again! I did not make a New Year's resolution to be a better blogger, since I never keep my resolutions anyway, but let's hope for more consistency in 2010.
A friend from church asked if I could put together a simple variety of cards for her to give to a special friend. These are definitely simple and some simply elegant. I hope she likes what I have created.
This card was done with the Elegant Bouquet embossing folder with the petals slightly tinted with the Crushed Curry. I felt the polka dots on the Crushed Curry ribbon would have been too whimsical for the elegance of the embossing so I just flipped it over and I do like that the few dots on the knot show .
.

Ah, Rich
Razzleberry, how I love this color! This was sort of
CASEd from a card I saw on
SCS. The ribbon and pearls came into play when I needed to cover an ink smudge...or two :-) I am also really loving the Vintage Vogue set!

I wanted to use the Very Vintage wheel between my embossed lines, but I did not leave enough room to
accommodate the width of the wheel. Not wanted to waste a piece of
card stock I decided to use my very lonely Baroque Border wheel with some Mellow Moss ink, a touch of MM ribbon and a Vintage Label and voila, a card was born!

Another partial CASE from
SCS with that gorgeous Vintage Vogue stamp set. I used Dusty
Durango and Blush Blossom papers and inks along with the Perfect Polka Dots embossing folder. The new punches, Scallop Trim Corner and Border are so pretty, but do take a bit of getting used to. I think they add an elegant touch to any card.

Okay, this card truly is mine unless I saw it somewhere and have
subliminally created it without realizing it. I really, really like the embossing folders and am so glad
SU! has started to carry them. I was using some from that "other" manufacturer...if you know what I mean, ha! ha! Here goes that Very Vintage wheel again in Brocade Blue. I never thought I would really use or like, that much, the butterfly thing that seems to be the craze now, but I do so like how they look here.

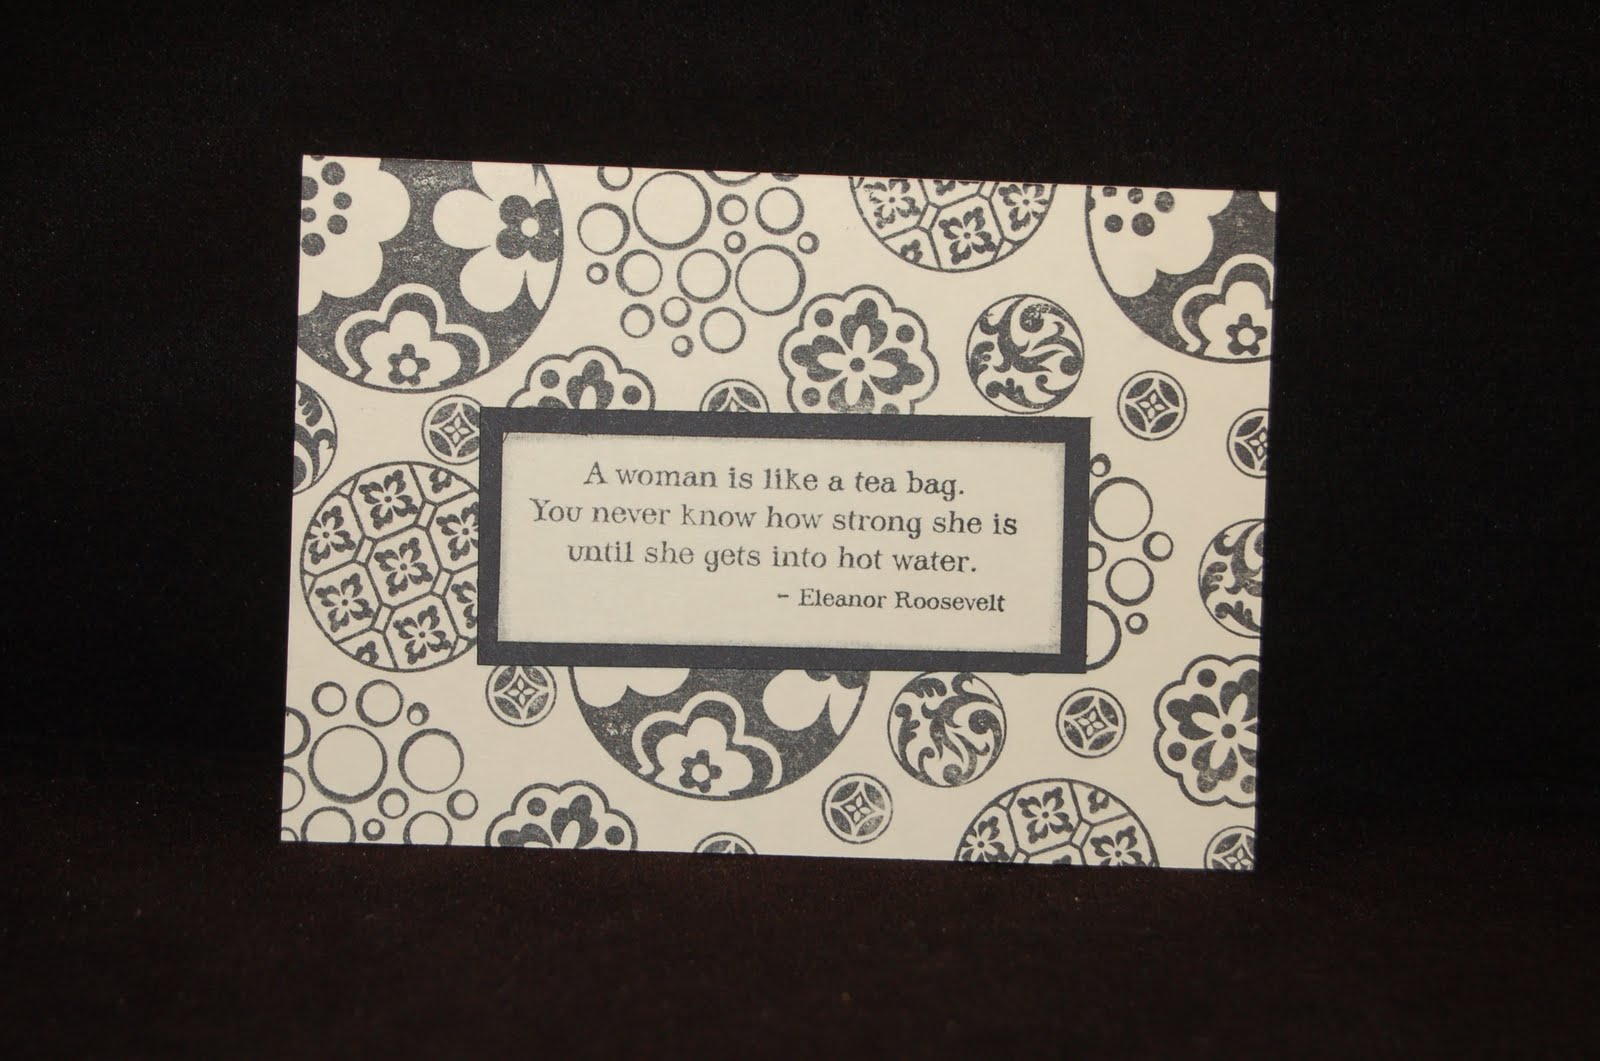
Last, but not least, an old stand by. I have been doing this one for about a year and I know it is a case, but not sure from where. So if this is your original creation, I thank you. Nothing says elegant like simple black and white.
I have a few more creations that I have done, but have been too lazy to upload. If I can get my self in gear, hopefully I will post again...soon :-) I have enjoyed sharing these with you and hope you have enjoyed looking. Take care my friends until next time!
 I really must pull this Lovely As A Tree seet out more, it makes wonderful cards! This is another CASEd card that has been tweaked to make it my own. The layout is the same but the original has 2 brads on the layer with the stamped tree and used the chocolated chip gingham ribbon (retired), and a circle punched sentiment (retired). I chose to us the EnFrancais background stamp with So Saffron Ink to add some interest to the first layer. I also wanted to add more texture so I used the Vintage Wallpaper Embossing Folder the the all narrow strip and mounted that on a Chocolate Chip layer.

 I love so many shades of green and not sure if I have ever met a shade I didn't like. My mom is a green person too except when it comes to her birthstone. She was born in August so her stone is a Peridot. She thinks it just to pale. I, on the other hand love it! Glad that I do too since my youngest was born in August, in fact he was born on my mom's birthday. We actually planned it that way since we were having a C-section and her birthday fell right in the time frame that the doctor wanted to deliver. How convenient and cool is that?!


%5B1%5D.jpg)